
PolyMax® is our streamlined, releasable push-fit plumbing system, designed for maximum efficiency and security in residential hot and cold water installations. Whether you are cabling barrier pipe through joists or making final connections to a manifold, following the correct preparation steps is essential for a leak-free finish.
Step 1: Precision Pipe Cutting
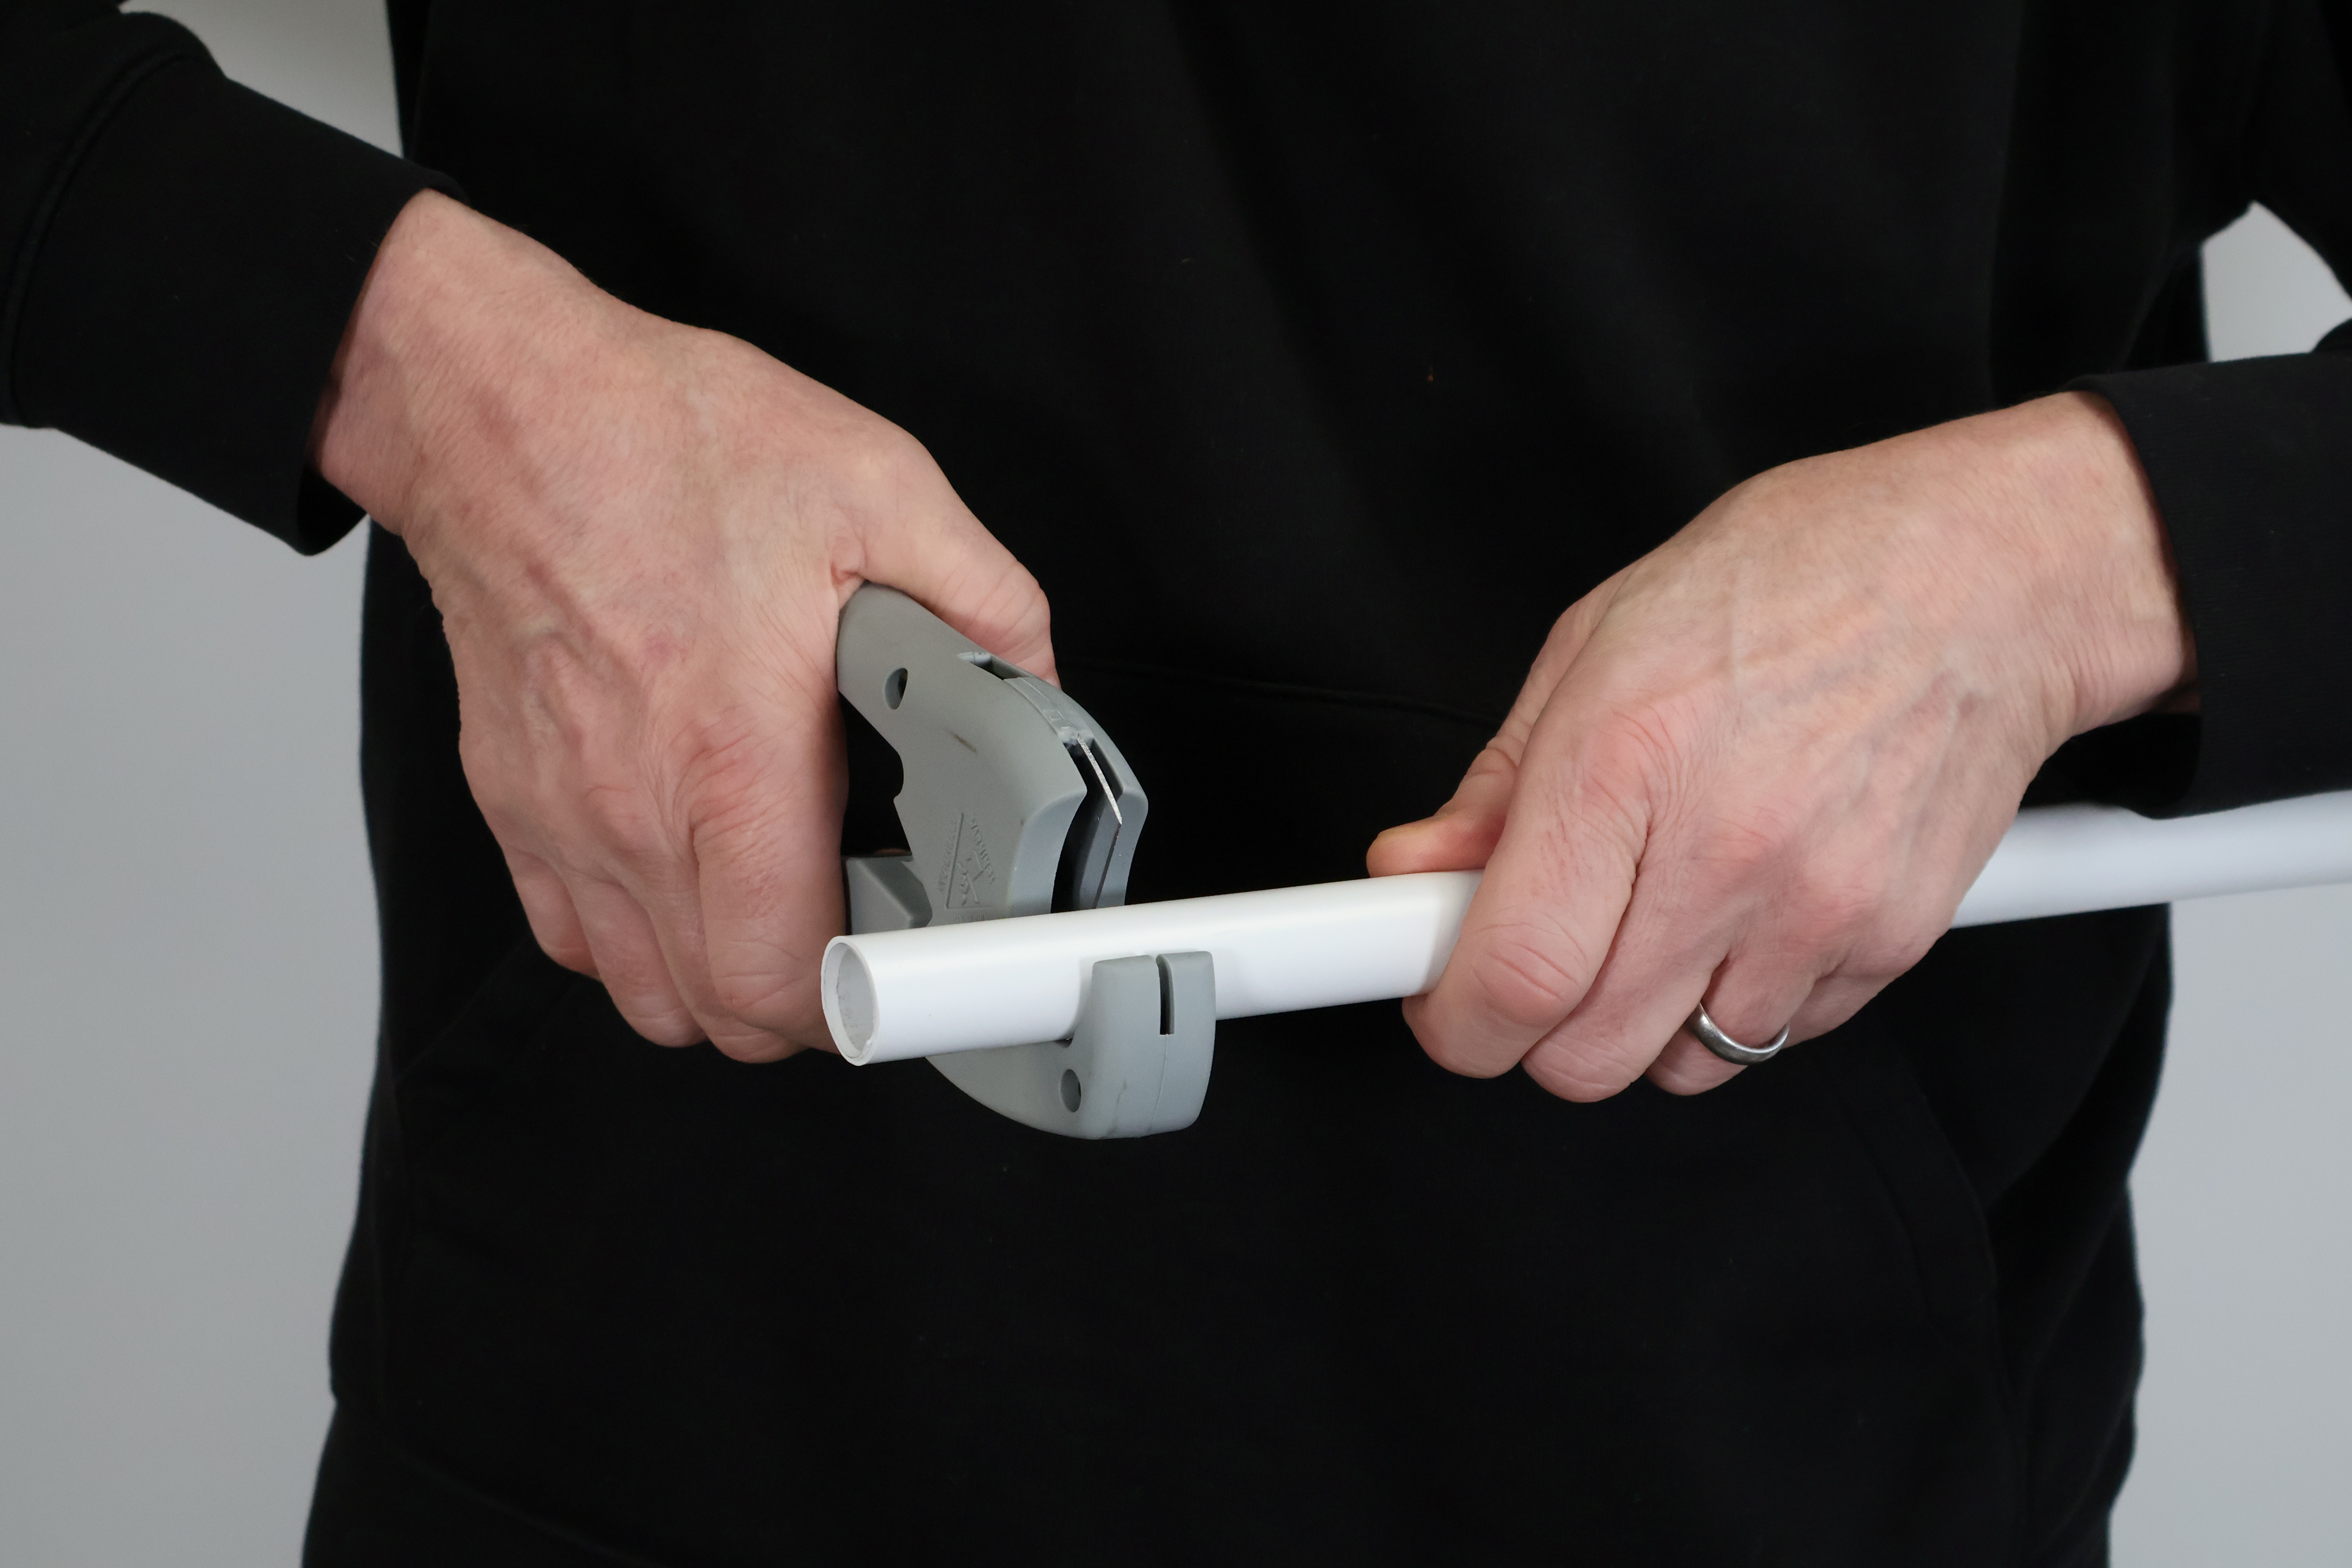
To ensure a secure joint, the pipe must be cut square and clean. Any burrs or uneven edges can damage the internal O-ring during insertion, leading to potential weeps.
- Use the Right Tools: Always use a dedicated plastic pipe cutter.
- The Square Cut: A square cut ensures the pipe sits flush against the internal stop of the fitting.
- Avoid Damage: Avoid using hacksaws or serrated blades, as these create debris and rough edges.
Step 2: Inspection and Preparation
Before making the joint, it is vital to inspect the Polybutylene barrier pipe for any surface damage.
- Cabling Hazards: If you have been cabling the pipe through timber joists or metal studwork, inspect the insertion end for deep scratches or scores.
- The "Clean End" Rule: If the pipe is damaged, cut it back to a clean, smooth section to ensure a watertight seal against the O-ring.
Step 3: Inserting the Pipe Stiffener
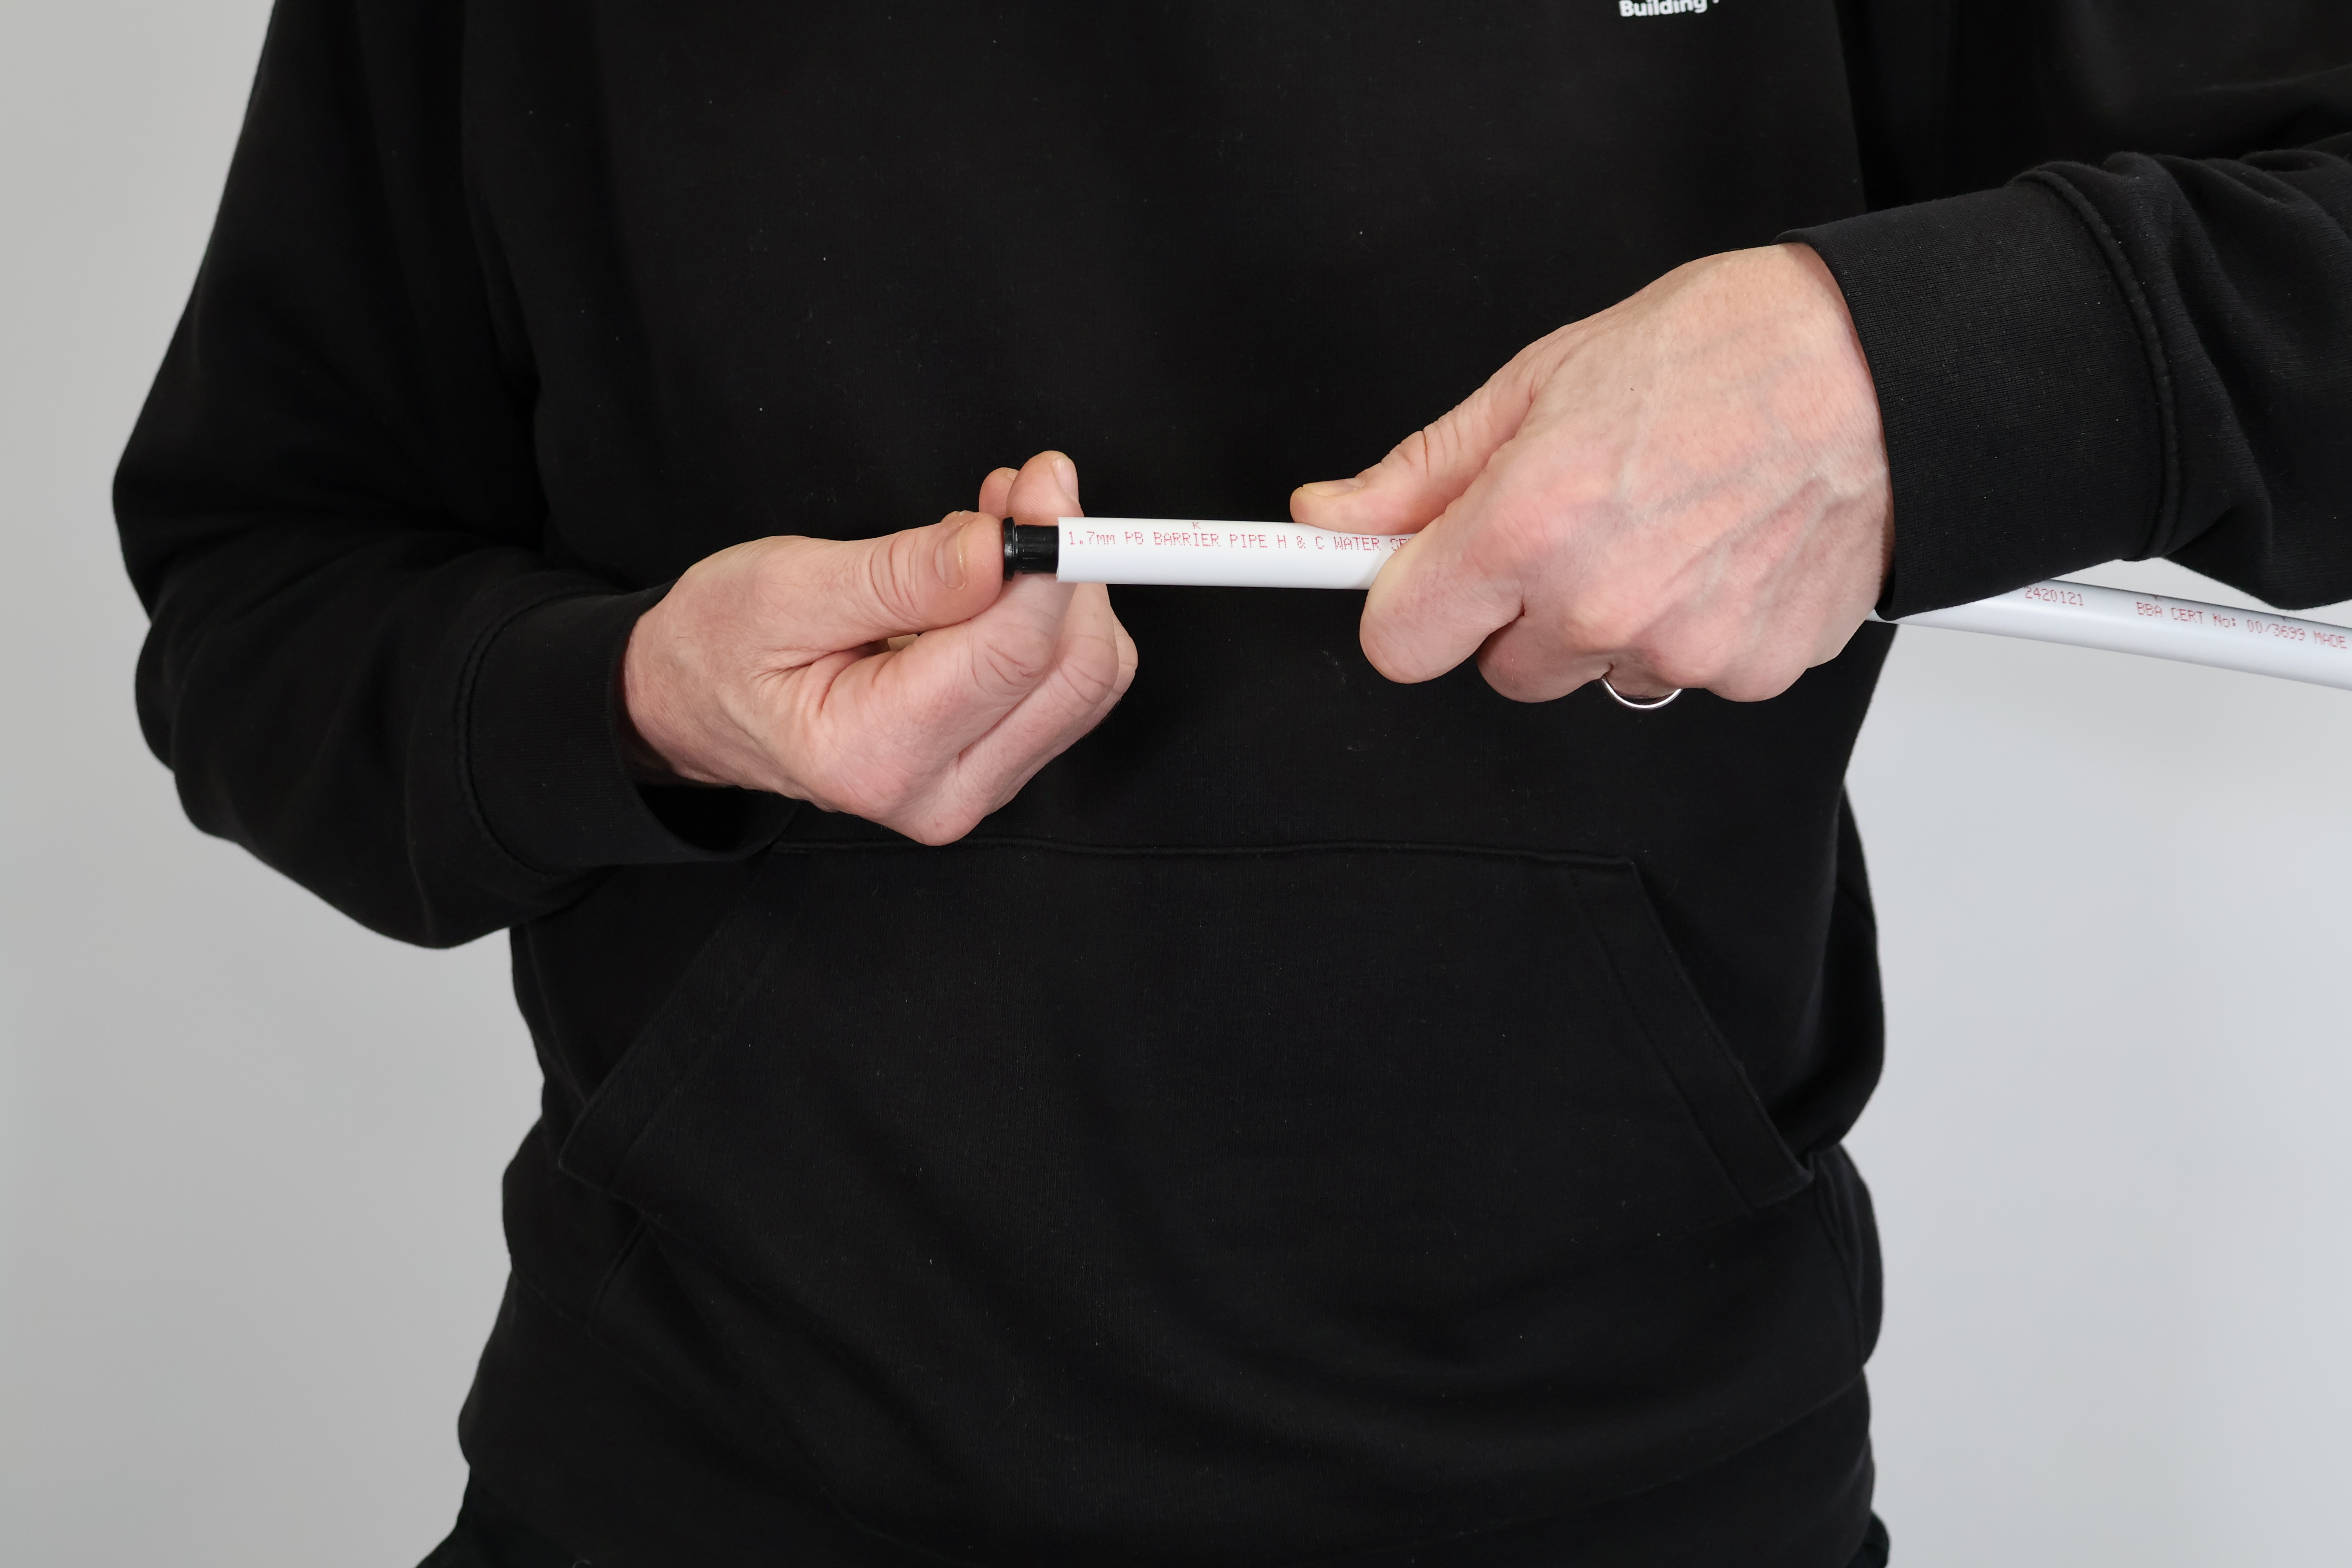
The use of a pipe stiffener is mandatory for all plastic pipe connections. It maintains the structural integrity of the pipe end and ensures it remains perfectly circular within the fitting.
- Support: Simply push the stiffener into the end of the pipe until the shoulder is flush with the pipe cut.
Step 4: Measuring Socket Depth
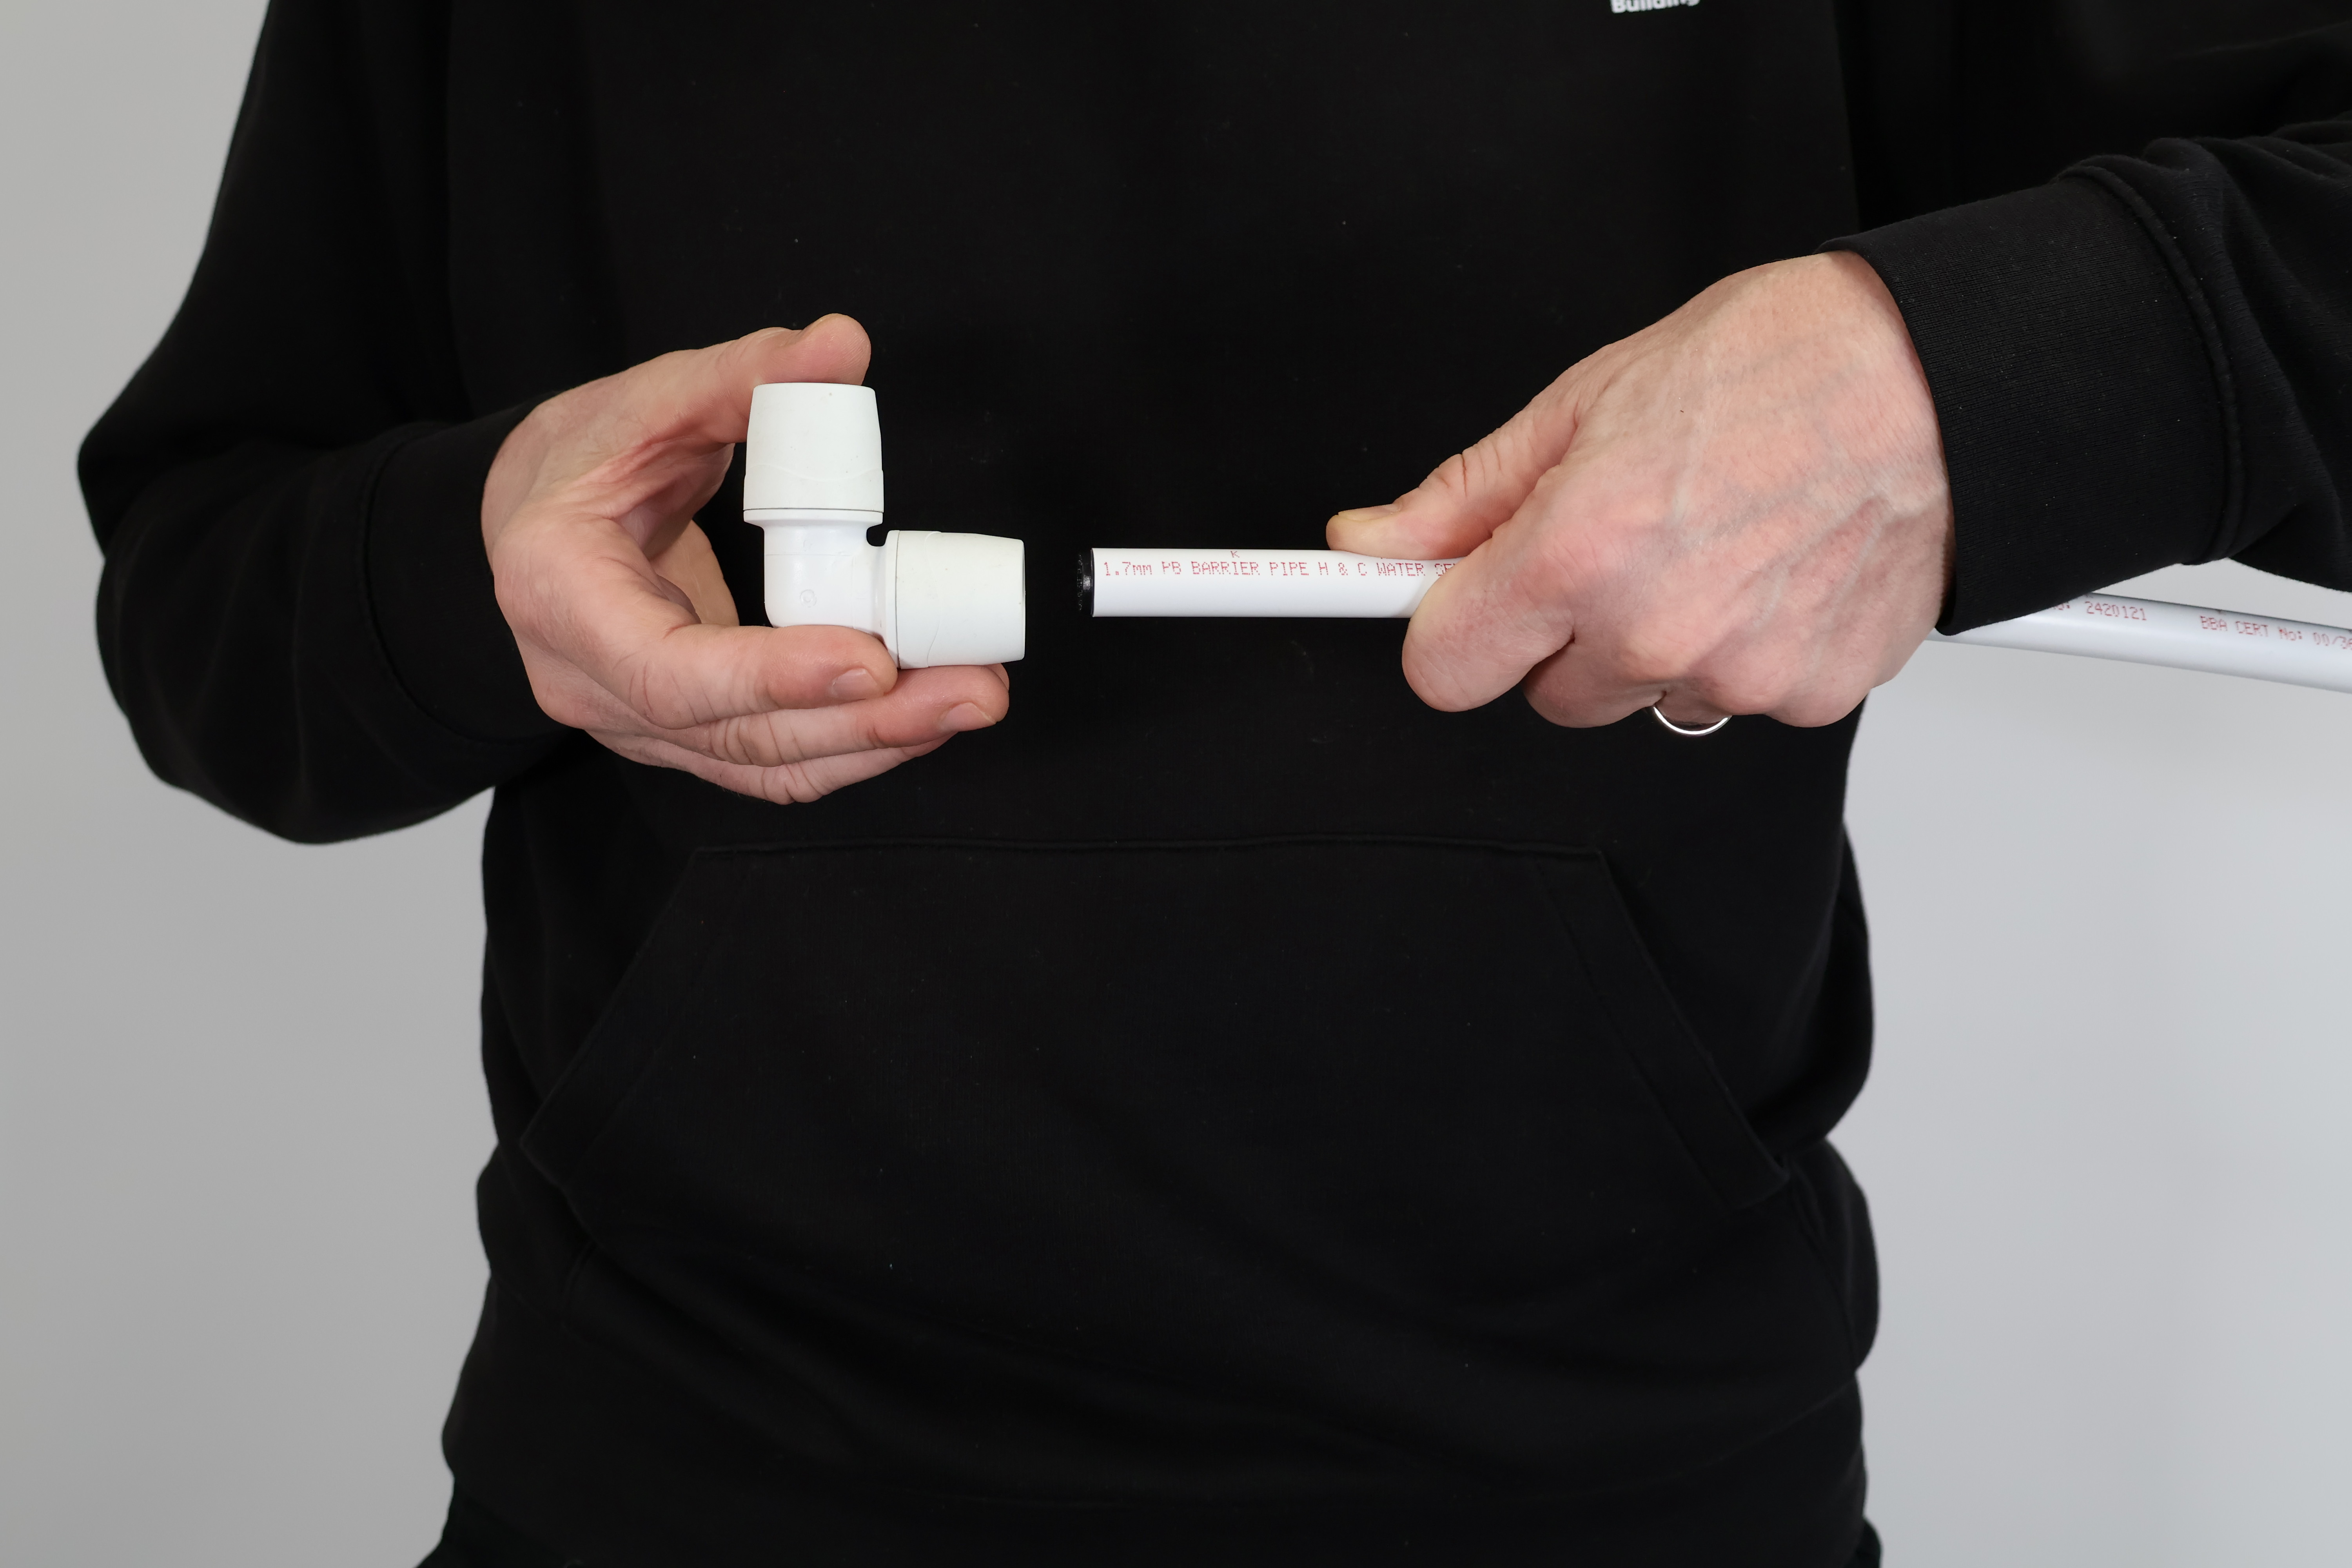
Knowing that the pipe is "fully home" is the most critical part of the installation. PolyMax® provides two ways to verify this:
- The K-Mark: If you have cut the pipe at a pre-printed K-Mark, the mark should sit exactly at the edge of the socket once inserted.
- The Depth Line: If you have not cut at a K-Mark, look at the body of the PolyMax® fitting. There is a visible line that indicates the socket depth. You can use a pencil to mark this depth on your pipe before pushing it in.
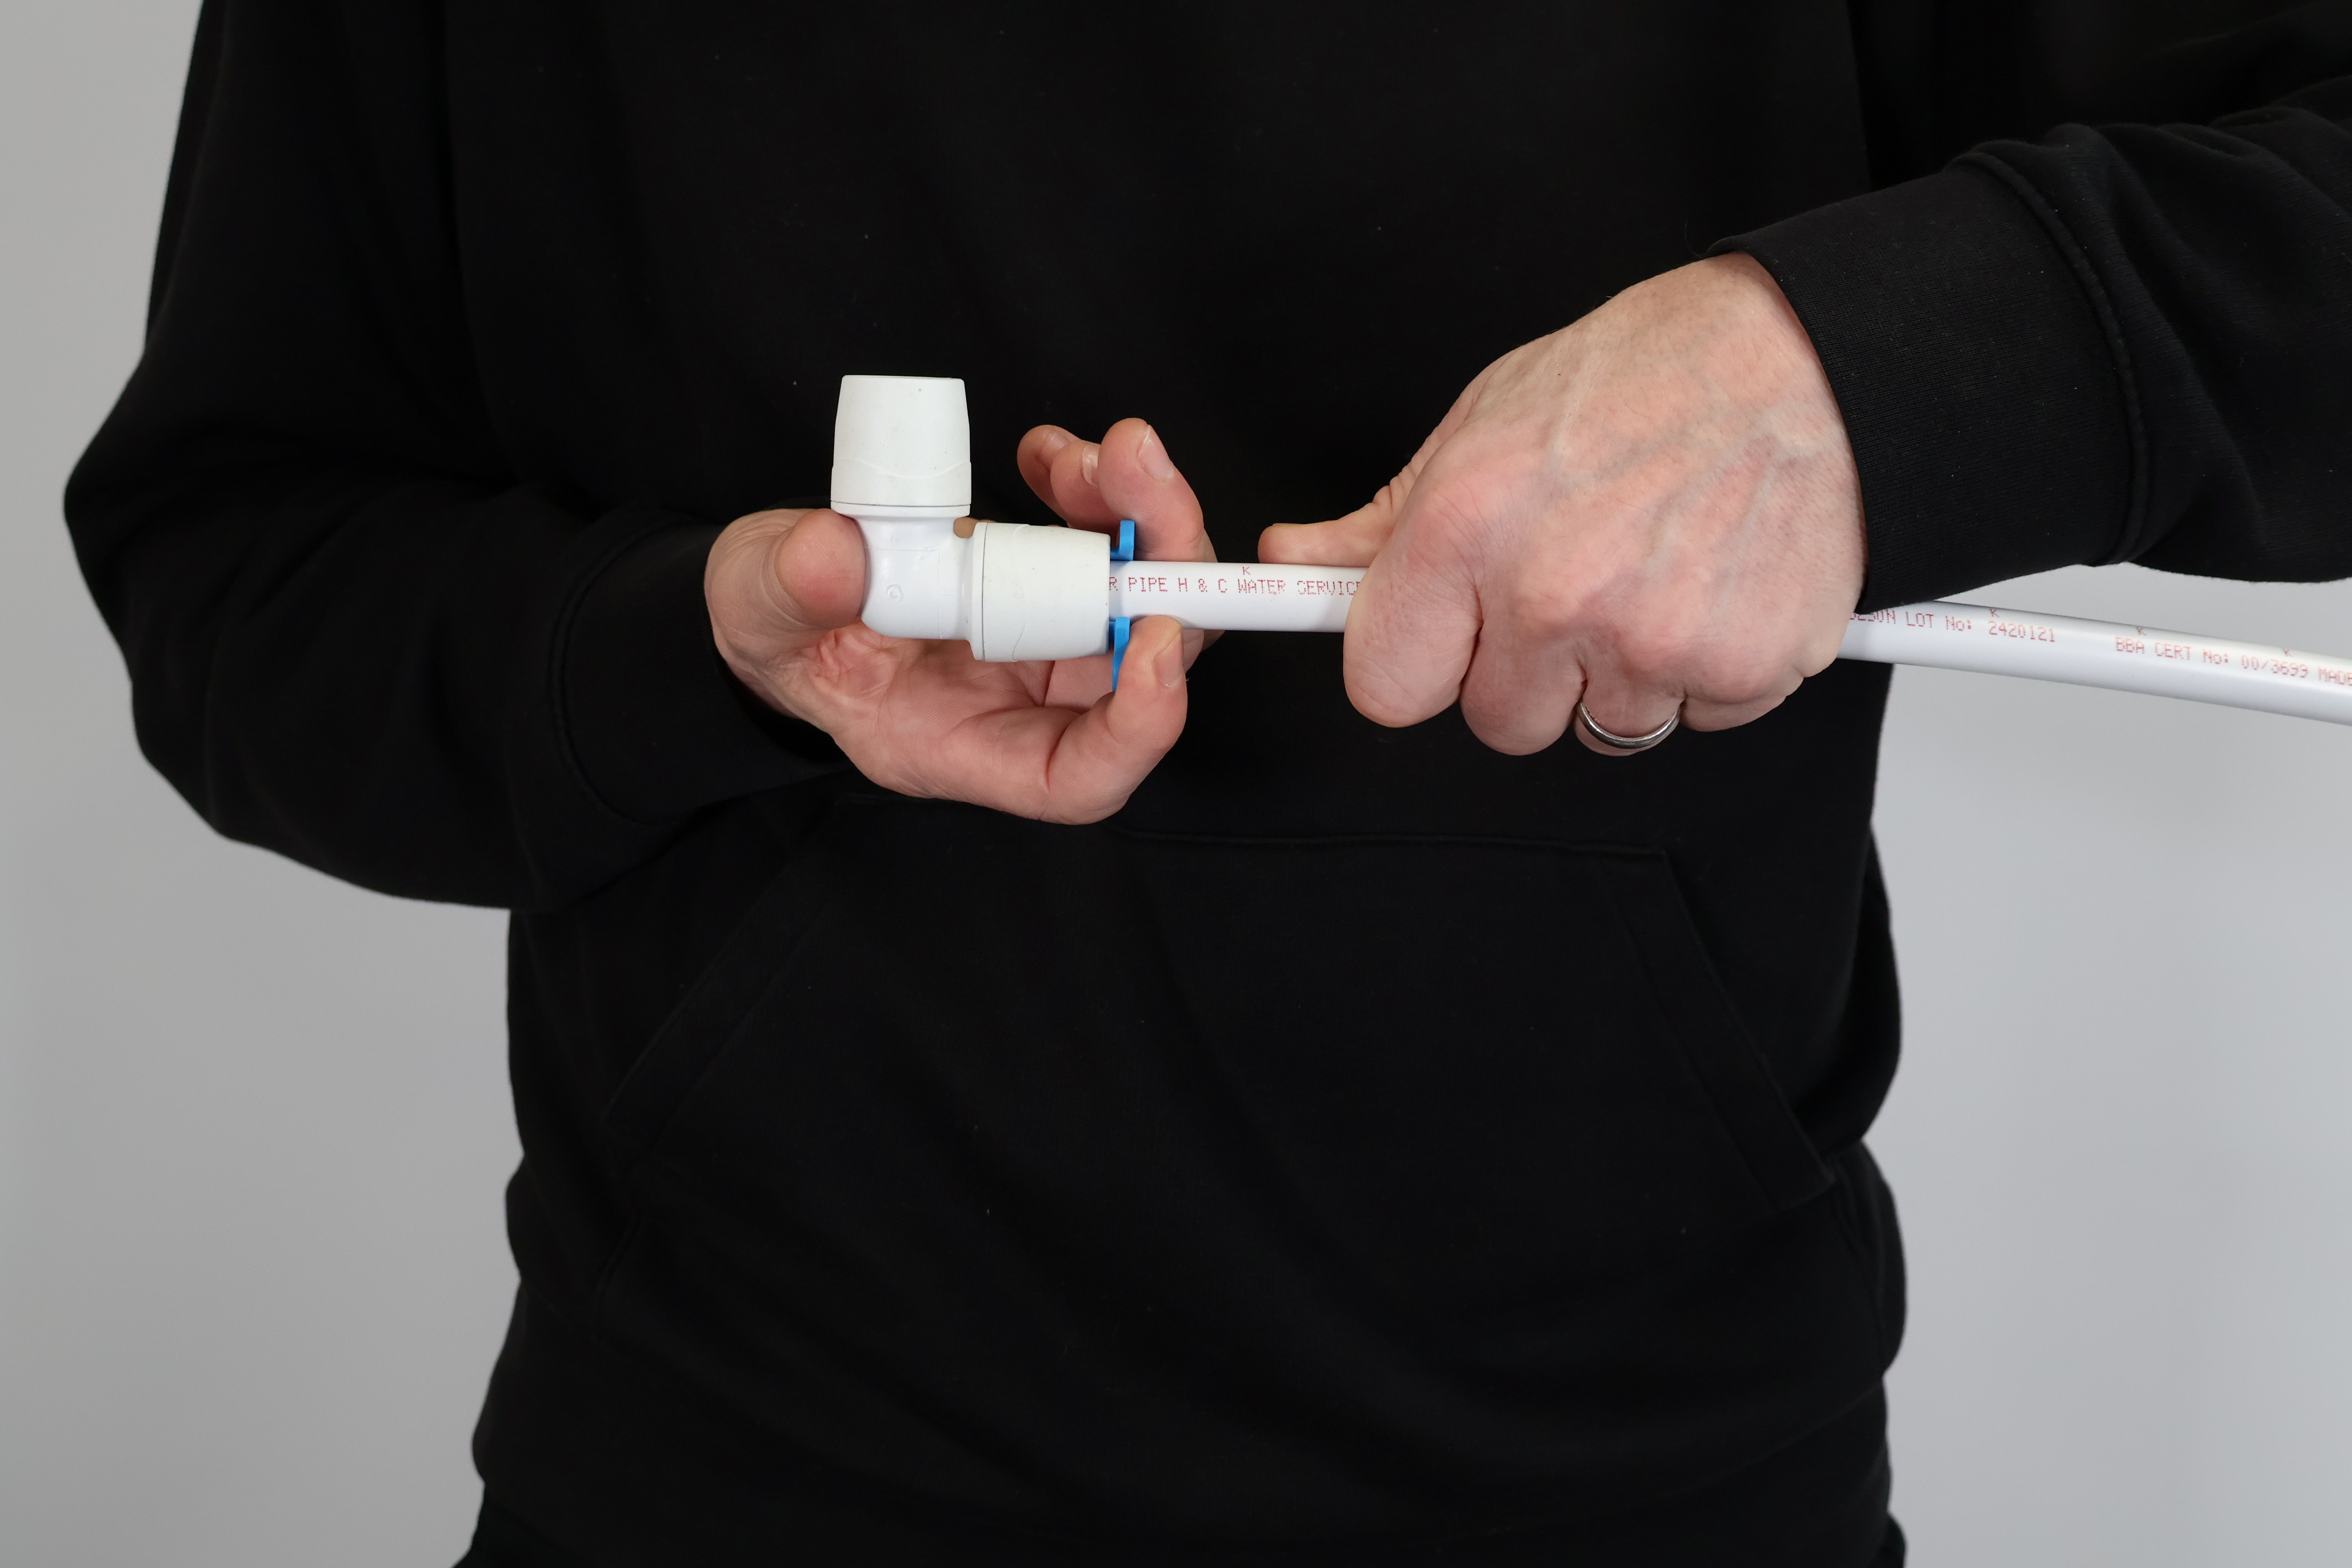
Step 5: Making the Joint
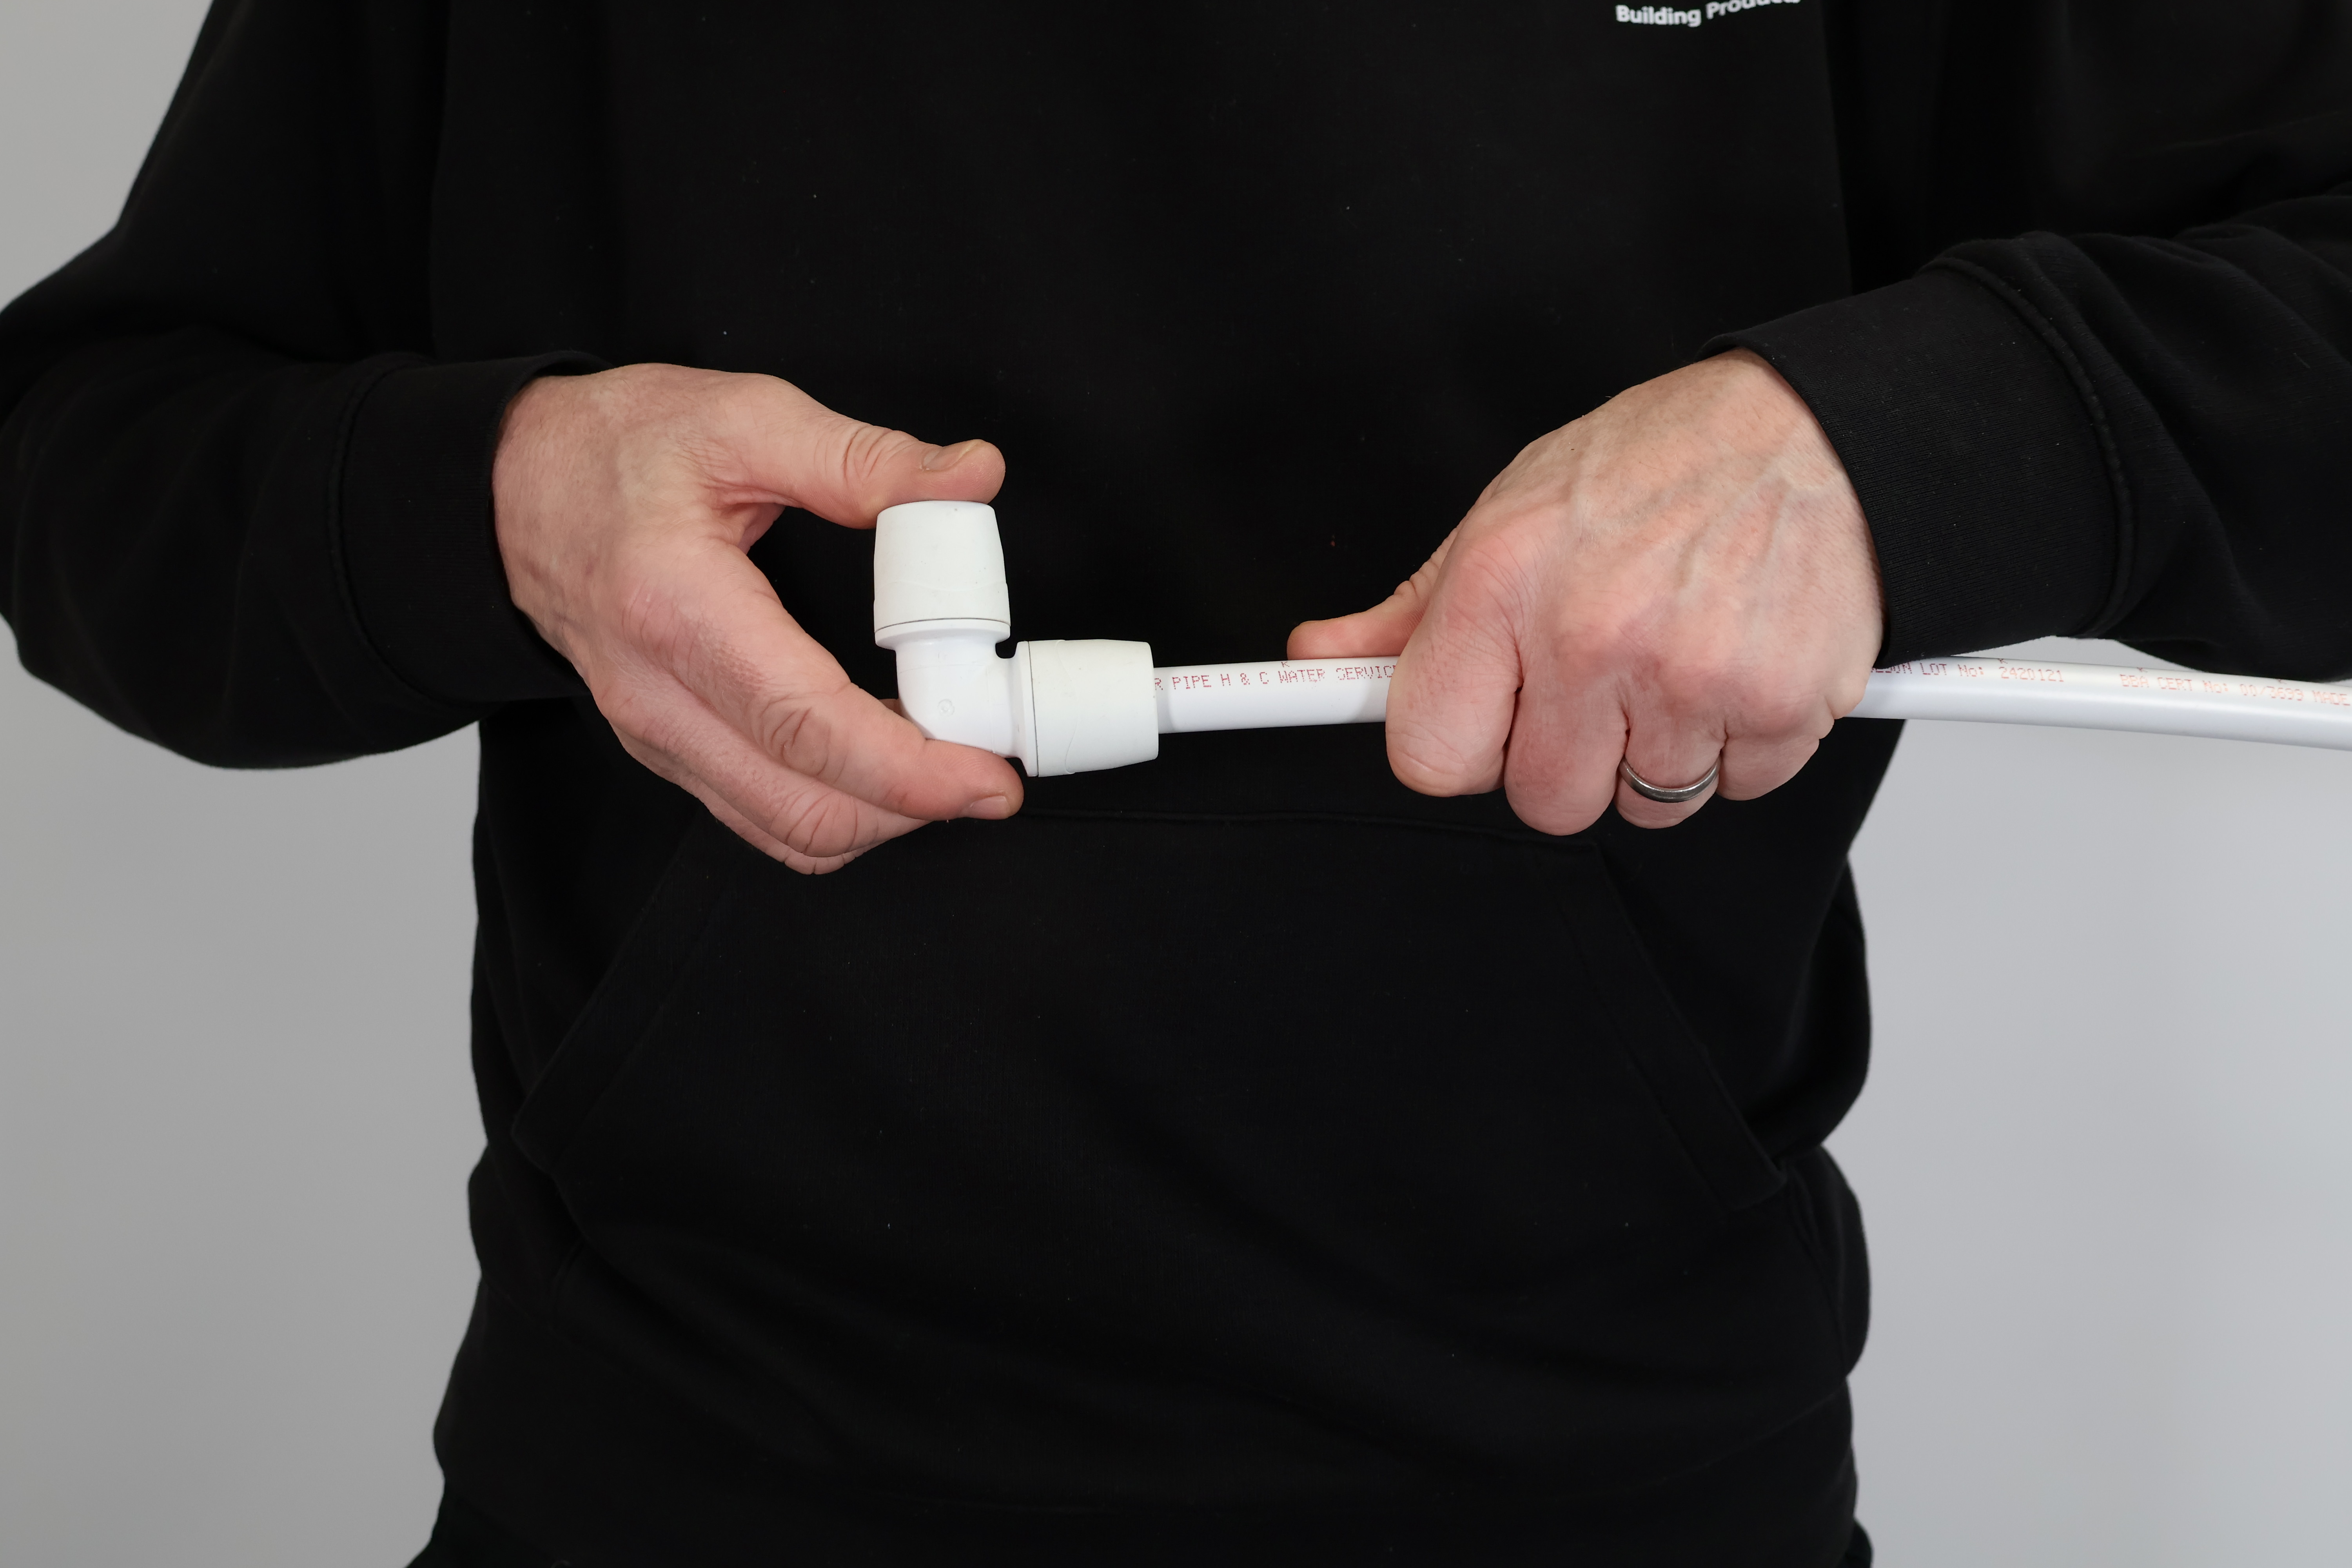
Once prepared, push the pipe firmly into the socket. You will feel it pass through the grab ring and the O-ring until it reaches the internal pipe stop.
Step 6: How to Release PolyMax® Fittings

One of the primary benefits of the PolyMax® system is that it is fully releasable and reusable, making it ideal for first-fix adjustments.
- The Fit Aid Tool: To release the joint, use the specialised PolyMax® Fit Aid tool.
- The Release Process: Slide the Fit Aid tool around the pipe and push it firmly into the socket collet. This releases the internal grab ring, allowing you to pull the pipe out safely.
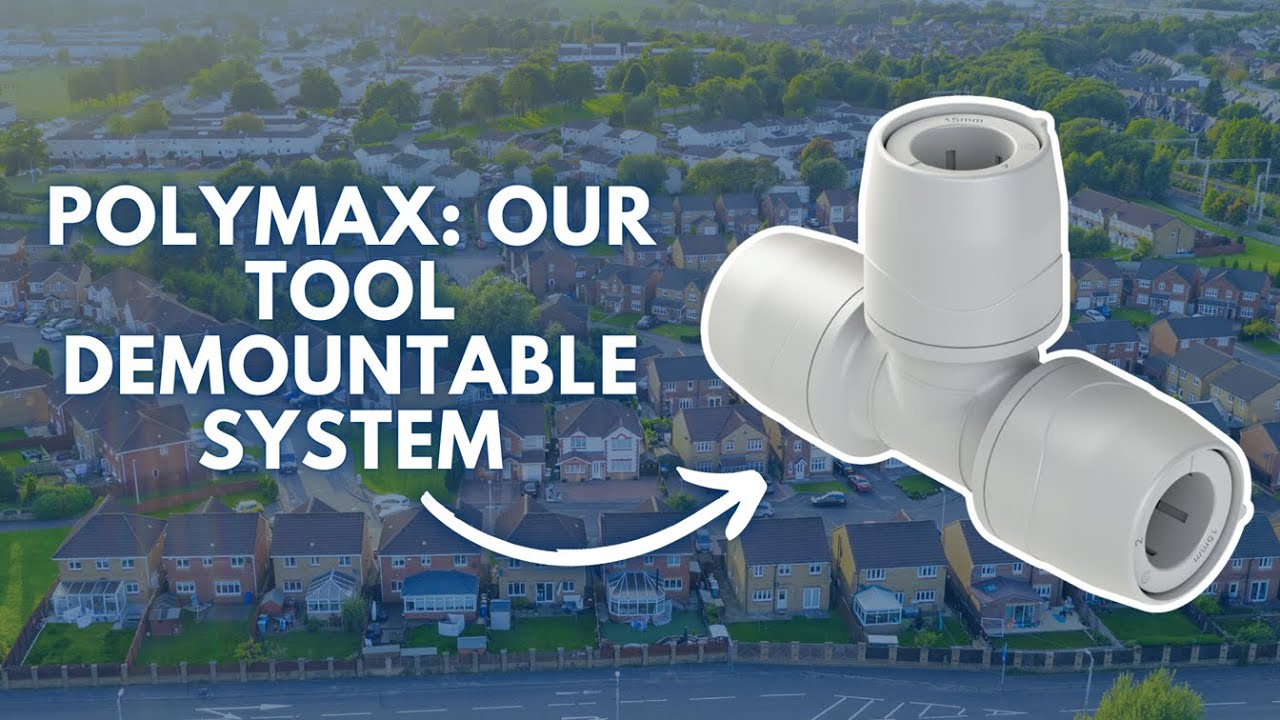
Video: Jointing PolyMax, our demountable plumbing solution
Technical Summary for Installers
- Material Compatibility: Designed for use with Polybutylene and PEX barrier pipe.
- Reusability: Fully releasable using the Fit Aid demounting tool.
- Compliance: Meets all relevant British Standards for residential plumbing.
- Maintenance: Ensure O-rings are kept free from flux and debris.
Verified by the Polypipe Building Products Technical Team.